
It used to be that a third party noise reduction software like Noise Ninja was necessary to lessen noise in photos. However, once Lightroom’s noise reduction capabilities were updated in Version 3 and are still on par with Lightroom Version 5, Lightroom can effectively diminish noise in photos as good as Noise Ninja or any other third party noise reduction software. While Noise Ninja may be able to get slightly better results in rare cases, the combination of the new low noise DSLRs and improved noise reduction in Lightroom has all but eliminated the need for third party noise reduction plug-ins. I do not use Noise Ninja anymore because the built-in noise reduction in Lightroom is phenomenal. The latest Nikon (and Canon) cameras have so little noise that I am rarely ever using noise reduction.

Here is a screenshot of the Detail Panel with the Noise reduction section highlighted in red.
Noise Reduction in Lightroom: Detail Panel
Of note, you can see what effect the sliders are having on your image without having to zoom to 1:1 by looking at the preview window at the top of the Detail panel, as seen in Photo 1 above. The Luminance and Color noise reduction sections are separated in this panel. The default settings are 0 and 25 for the Luminance and Color sliders respectively. Also note that until you move the Luminance or Color sliders the Detail, Contrast and Smoothness sliders are darkened and unavailable. Once you increase the Luminance noise reduction then you can fine-tune the Luminance noise reduction with the Detail slider, which adds Detail back to the image. You can also adjust the Contrast, which can be affected with the addition of Luminance noise reduction. In a similar fashion, the Detail slider below the Color slider brings back more detail in the image the farther you pull it to the right. The Smoothness slider will smooth out rough detail and make the image appear smoother, meaning it removed detail from the image.

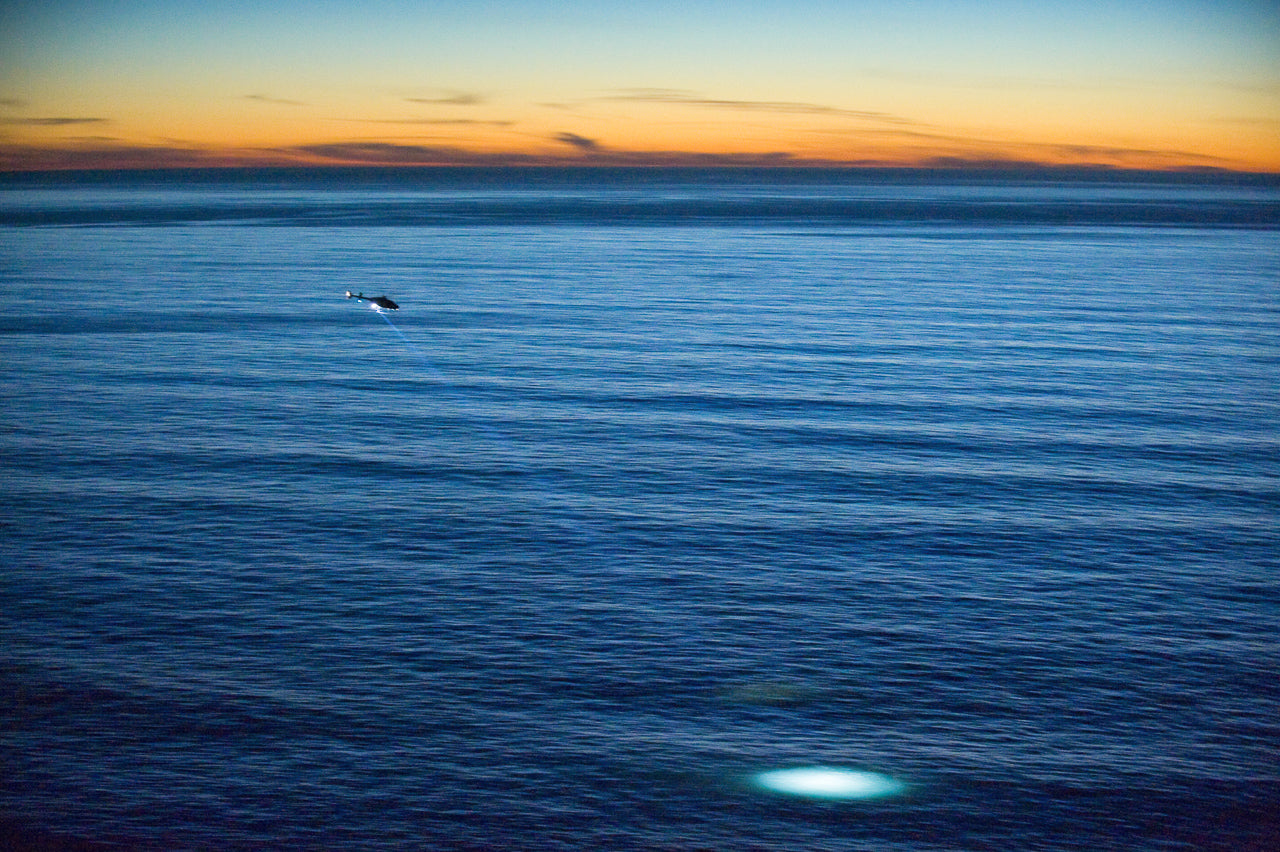
This image was shot with a Nikon D700 at ISO 6400 using a Nikkor 70-200mm f/2.8 lens. Since this image was shot well after sunset just before the sky went totally dark, I had to crank up the ISO to get a sharp image. With a little help from Lightroom’s noise reduction, this image prints incredibly well even though it was shot with an older model camera at ISO 6400. The new Nikons far surpass my old Nikon D700, and at ISO 6400 on my D4, there is much less noise than there was with the D700.
Noise Reduction in Lightroom: Color Noise & Luminance Noise
Color noise is pretty obvious in an image if you zoom into the 1:1 preview. Color noise appears as a bunch of color dots randomly showing up in the image, as in Photo 3 below. If you look closely at the image below it is obvious that there are a lot of random colors visible in the ocean background. Luminance noise is also easy to recognize since it is the "grain" or "dots" in the image that are independent of the color noise. Depending on your camera, it may produce more or less color noise than Luminance noise. Usually color noise can be eradicated by moving the Color slider from 25 up to 40. And then detail can be added back in with the Detail slider just below the Color slider.

Here I have zoomed into this image to 100% (1:1) and you can see the random pattern of red, green and blue colored dots. These dots are what we call "color" noise and they can be removed using the Color slider in the Noise Reduction section of the Details panel.
Noise Reduction in Lightroom: Using Sliders
For images shot on my Nikon D4 at ISO 3200 or below, I leave the noise reduction sliders at their default settings. On my D800, I only add noise reduction to images shot at ISO 2000 and above—and even then it is on an image-by-image basis as the noise varies depending on the image. In my testing, I have seen very little difference between 0 and 25 on the Color slider. In fact, I usually prefer leaving the Color slider at the default setting of 25 when I have checked the difference.

Here is the finalized image with all of the noise reduction and Develop module adjustments.
Noise Reduction in Lightroom: Sharpening Sliders
It is not a coincidence that the Noise Reduction sliders are mated with the Sharpening sliders. Noise reduction can massively reduce the overall sharpness of the image, especially if you go overboard. If strong noise reduction is applied, I recommend adjusting the sharpening settings slightly to restore the sharpness of the image. Also, note that when viewing your image at 100%, it is most likely larger than you will ever print the image. Hence, you would never see the noise in a print. I suggest viewing the image at 50% after applying the noise reduction as that is a much closer approximation to how the noise will look when printed, or in a medium resolution jpeg.

This blog post is a modified excerpt from my e-book, Adobe Photoshop Lightroom: A Professional Photographer’s Workflow. For more information on this e-book or to purchase the e-book please visit my website.
KEEP UP WITH MICHAEL:
Website | Blog | Workshops | Facebook | Twitter | Instagram |
Google+ | Behance