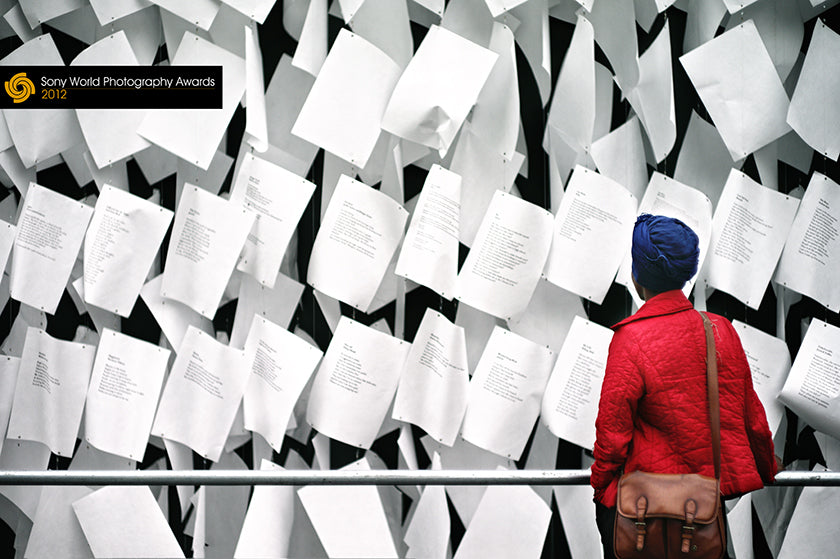
Hi, my name is Simon Ellingworth; I'm a Professional Photographer, educator and all round creative based in London, England, and I'm honoured to be a guest blogger on pictureline.com.
In 2013 I was a finalist in the Professional Photographer of the Year & The Mobile Photography Awards, and last year I was runner up in Professional Photographer of the Year & Sony World Photography Awards, selected from over 121,000 images from 171 countries.
Four months ago I started a photography education blog based upon the premise "buying a better camera won't make you a better photographer" aimed at smart phone, tablet, GoPro, and traditional photographers called Lightism.
My tutorials are fresh in perspective, simplify complex issues, and appeal to a wide audience. They have been re-published by a number of blogs including Lifehacker, DIY Photography.net, Life in Lofi, SLR Lounge & Petapixel.
Amazingly, I've been approached by a British book publisher who'd visited Lightism, and they are currently hammering out a book deal for me in the USA. In short, I'm living the dream!
The following is a tutorial from Lightism called Understanding the Light:
In this section we are looking at the position of the light in relation to your subject and the effect it has to the image quality, depth, and mood.
The examples below are shot in the garden with a smart phone on a sunny day and certainly won't win any prizes, but do illustrate three different lighting styles anyone can achieve using the daylight and a smart phone, even in a small space.
In each top example, it's just the sunlight, and if you look at the brightest part on the old circular flash, you can see where the light is coming from.
In the second example of each lighting style, I've filled in the shadows with a homemade reflector (made from tin foil!)
This, in effect, creates a second light you can direct and change the strength of by moving it from side to side. In the second of each example, look at the old flash and you will see where the light from the reflector is coming from.
Anyway, they fit in your pocket, cost next to nothing and make a real difference.
Front lighting
The traditional advice of keeping the sun behind the photographer creates front lighting. This produces flat images with no impression of depth and is best to be avoided.
To create an impression of form, depth, and texture to the subject, you need the light to come from the side or at least at an angle.
Side Lighting
By changing the angle of the light falling on your subject by either turning your subject, changing the camera viewpoint, or waiting for the sun to move, the light falls more on one side, and more shadows are cast on the opposite side of the subject.
This light gives dimension and form to your pictures and see how the reflector gently fills the shadows in the black body of the right hand camera:
Back lighting
When the sun is behind your subject it is back lit.
This can make for very cool pictures, but there are a few rules you'll need to know:
Unless you want silhouettes or generally weak pictures like the first example above, you need to balance the strong light from behind the subject by either:
1) Exposure compensation—A setting on your camera or app that tells the camera to brighten or darken the image (more on that in the next section)
2) Reflecting light back at the subject, like example two above.
3) Using additional lighting to fill in the shadows. Turn on your flash or even better, in the next lesson we learn about additional lighting.
Be sure to check out all of the great lessons over at Lightism! Simon's blog also has some awesome tutorials, like making a DIY iPhone ring light.
KEEP UP WITH SIMON: Lightism | Lightism Blog | Simon's Site | Facebook | Twitter | Taking Better Smartphone Pictures with Simon Ellingworth's Lightism


